AUDIOTUTS Updates |  |

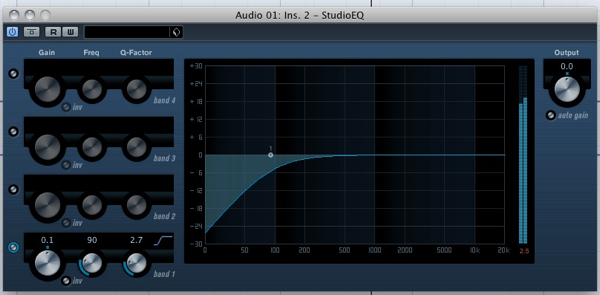
| Quick Tip: Smart Mixing in Ableton Live Posted: 08 Jul 2010 05:00 PM PDT During a traditional DJ mixing session we need to be able to keep an even volume level during a transition and also keep a good spectral balance by utilizing EQ. I am going to show you a quick method of setting up a set in Ableton Live to achieve just that using sidechain compression. We will be also utilizing the EQ3 device to split the signal between low and mid-high frequencies. As you will see, the technique described here is quite straightforward and can also be applied to other sequencing software. Source files included were made in Ableton Live 8.0.9. Setting UpCreate two audio tracks that will hold your tunes. Drag an audio effect rack on the first track, rename the rack to Low. Drag an EQ3 device on the first chain. Leave the default values but deactivate the Mid and High band. Set FreqLow crossover to 200Hz. Drag a Compressor device after the EQ3, activate sidechain select the second audio track from the drop-down list as an external source, then Post Mixer from the External tapping Point. Set values as follows:
You can try out different values later on to see if they work better with your set.
 Next, create a second rack, rename it Mid/High and drag a copy of the previously created EQ3 device. Deactivate the Low band and activate the other two.
 Drag the copy of the resulting audio effect rack to the other track. The only thing you need to change is the compressor’s sidechain external source. It needs to come from Track 1 this time. Also External Tapping Point must be set on Post Mixer, as well. MIDI MappingMap a keyboard or a midi key to the Audio Effect Device Activator for both tracks. You can also map a midi slider to the main Crossfader. Assign the Crossfader Switch to A for the first track and B for the second.
 In ActionLoad up two beats on both tracks hit play and drag the main Crossfader to the left so that only the first one is heard. For this method to work the Audio Effects rack of the first track needs to be activated with the second track’s Audio Effect Rack Device Activator deactivated.
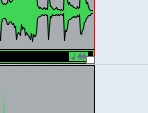
 Now, as the tracks play, drag the Crossover to the right to mix in the second track and notice how the low-end of the first track gets compressed to make space for the low-end frequency range of the second beat. If you don’t need to use the Live Crossover, you can just bring up the volume level of the second track. In this case, though, make sure the Crossover Assign switch of the second track is properly set. Once the second track has been fully introduced and the first track is not heard anymore, hit the key you had assigned to the previous step to switch on the Audio Effect Rack of Track 2, which will automatically switch off the Audio Effect Rack for Track 2. Then mix in another track from Track 1 and notice again the sidechained effect. By repeating the above process Live makes the necessary volume adjustments allowing you to concentrate into more creative decisions. I inserted a Spectrum device on the first track to illustrate the spectral change on the signal once the second track is introduced.
 Spectral Graph of first track before introduction of the second track.
 Spectral Graph of first track after second track has been mixed. Further adjustmentsWe could also use a Multiband Dynamics device instead of an EQ3 one to achieve a similar effect. If we wanted to mix in a vocal or any other medium or high frequency sound into the mix we could split the signal to three frequency ranges (using chains) adding three separate sidechain compressors to each range then MIDI map each compressors’ Device Activator button so we could select which spectral range we need to compress. I have included such a device on the 3rd audio channel inside the Project File. Finally, I am sure that once you understand the concept, you will be able to apply it to your setup inc case you are working with any other sequencing software. So, there you go, thanks for your time, I hope you find the technique useful!
|
| How to Produce a Downtempo, Trip Hop Beat Posted: 08 Jul 2010 01:00 AM PDT Recently I have been putting together quite a few downtempo, trip hop style beats for various projects and I thought it might be useful for me to share the basic process I use to get things started.
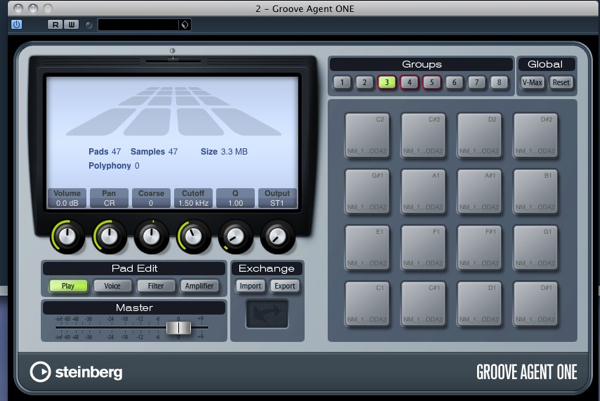
Be aware this is just the foundation for a beat and only one way of doing it, styles and technique will vary massively from project to project … but I figured some of you may find the techniques used here useful. I have used Cubase with stock plug-ins and instruments here but the techniques could easily be ported to any other DAW. Step 1: Load a Groove Agent One and Create a Basic PatternOk, so I started by loading up a Groove Agent One and one of its excellent stock kits. I then played a basic pattern using a MIDI keyboard. This will act as a skeleton for the beat and it’s highly likely the pattern will need to be changed as new elements are added.
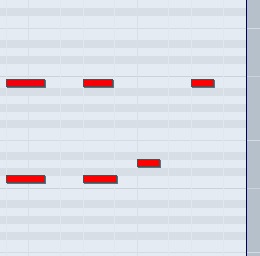
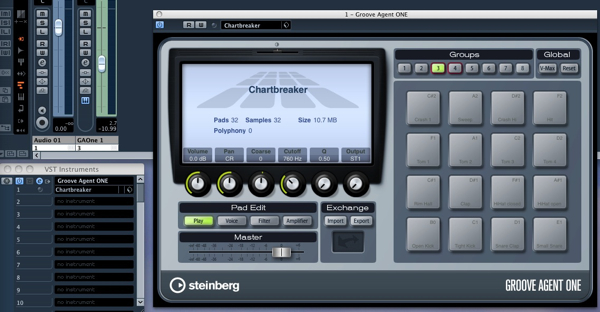 The Groove Agent One is loaded up. You might notice that the pattern is pretty strictly quantised to 16ths. This seemed to work here but you may want to start with some swing or a custom groove.
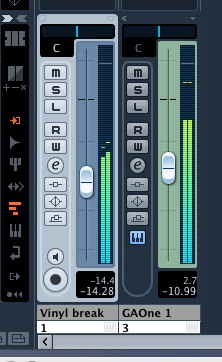
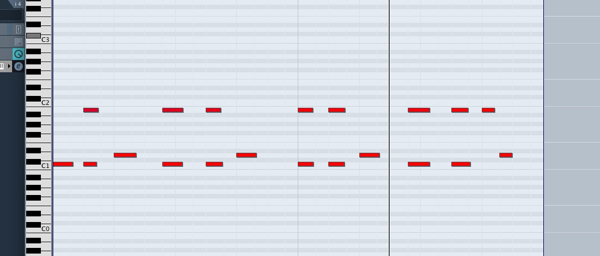 Our simple new pattern. The initial MIDI based beat. Step 2: Add a Break or LoopA really quick way of filling out any beat and adding some extra groove, is to use a loop. This doesn’t always work but it’s worth experimenting with. In this case I used a vinyl style break and mixed it at a pretty low level against the original beat and filtered off some low end to ensure the original kick drum could breathe.
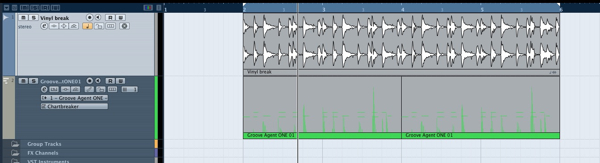 The loop is added.
 …and then mixed.
 Some low end is removed. The loop is mixed well but the patterns clash slightly. Step 3: Edit the Original PatternThe original MIDI pattern is now slightly tweaked to ‘fit’ with the new break. Essentially all I did was move a kick and a few snares around at the end of the 4 and 8 bars respectively. This felt a little more natural and seemed to flow more.
 The original pattern is edited slightly.
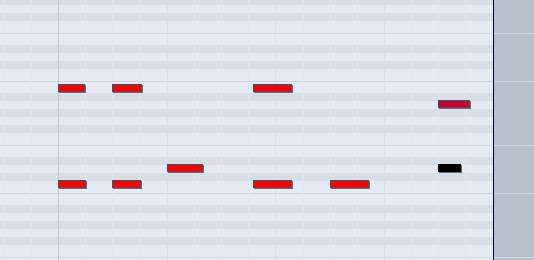 … and a little more. The loop mixed without he edited MIDI. Step 4: Cutting Percussion Sounds From a Loop.Next up I wanted to add some percussion, I decided that I would cut a few sounds out of a loop. This is a different approach to just loading up a raw sample and can give you a slightly different sound.
 A new loop is imported. I started by loading another loop that contained some percussion elements I liked. You’ll notice by the small symbol in the bottom left of the region that this loop contains tempo data and will remain locked at any BPM.
 This loop is in musical mode. On double clicking the loop you are presented with some editing options in the left hand side of the display. Go straight for the sensitivity slider. Increasing this will give you automatically placed markers on each transient, much like Recycle. You can add or remove any markers that have been wrongly placed or missed.
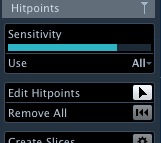 Raising the sensitivity
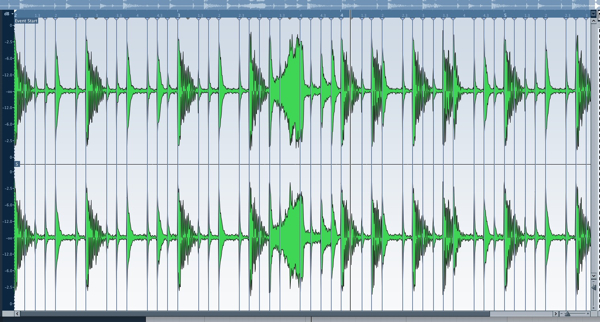 New markers are placed. Now hit create slices, Cubase will ask you if you want to exit musical mode, hit ok and move back to the arrange window. Now when you double click your loop you will see it has been cut into slices for you, very handy!
 Create slices!
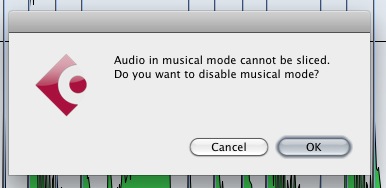 Exit musical mode.
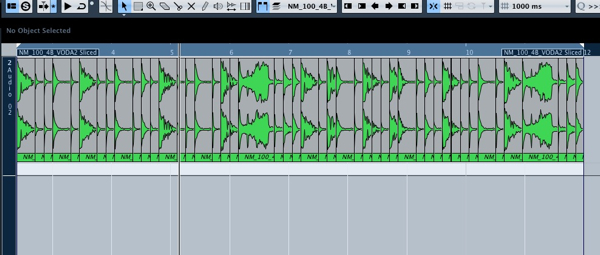 And boom! your slices are created. I then opened a second Groove Agent One and dragged the newly sliced loop to the first pad. Each slice is then mapped on consecutive pads. This is a god send and an extremely useful workflow feature. Your sounds are now ready to play via keyboard or set of pads.
 Your new slices, easily mapped to a Groove Agent One’s pads. You might notice that in the final project I have bounced the output of this Groove Agent One, this is because the system used for loading custom kits requires and export and import and is not saved directly with your project. Something Steinberg tell me is ‘a slight limitation’. Hopefully this will be sorted in a future update. Step 5: Programming the Percussion PatternNext up I programmed a basic pattern with one of the slices from the loop.
 The basic pattern. The new percussion part in action. Step 6: Adding Some Synced Stereo Delay and SwingWhen played back using a straight 1/16th quantise, everything sounded a touch machine like so I decided to add some swing and to o open up the percussion sequence further I added some stereo delay, this gave the whole loop a ‘pacey’, running feel.
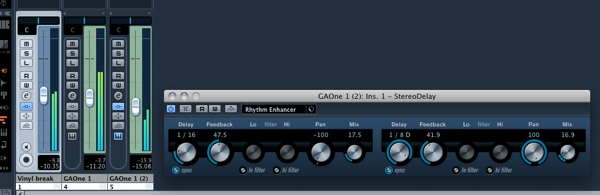 Some stereo delay is added.
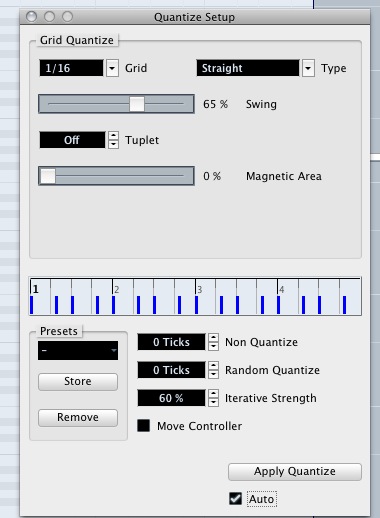 And some swing for some extra groove. The percussion is greatly enhanced by some effects and swing. Step 7: Crashes and FillsAt this point a couple of crashes were mixed for impact at the start of each four bars. I also added a .rex drum fill sample and trimmed it to size. These sounds were then mixed to a good relative level and some low end removed from the crashes.
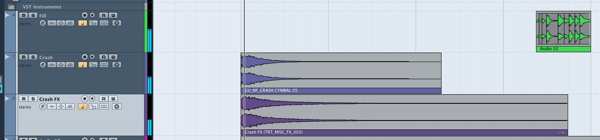 Some crashes and fill are mixed. The crashes and fill in action. Step 8: Group your drums.At this point all the drum sounds (bar the crashes) were grouped. This meant I was able to apply a vintage compressor and some valve distortion and this added some grit and extra punch to proceedings.
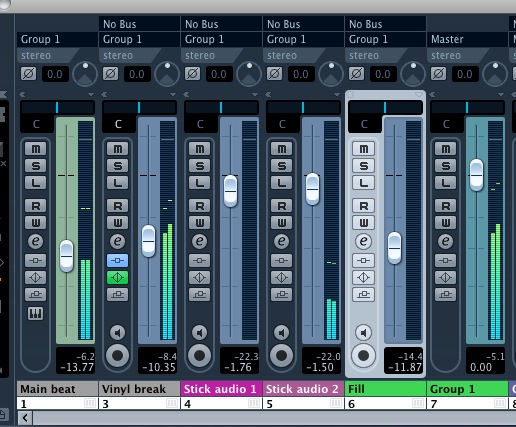 The main drum parts are grouped
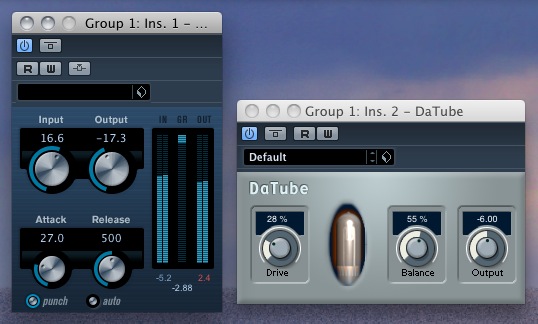 … and then are treated with a compressor and tube emulation. The drum group with extra crunch! Step 9: The Finished BeatFinally A maximiser/limiter and an a dithering plug-in were added to the master buss to represent a light mastering job.
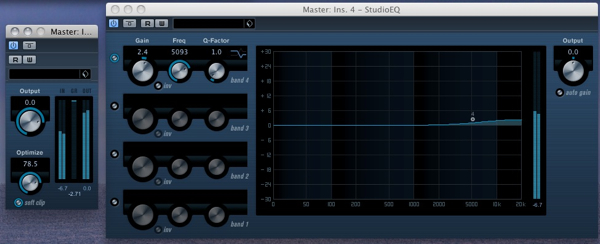 Some light mastering processing is added Try your own beat and add some extra effects hits and some automation. A beat made in this way can be constructed quickly and easily edited. The final mastered loop
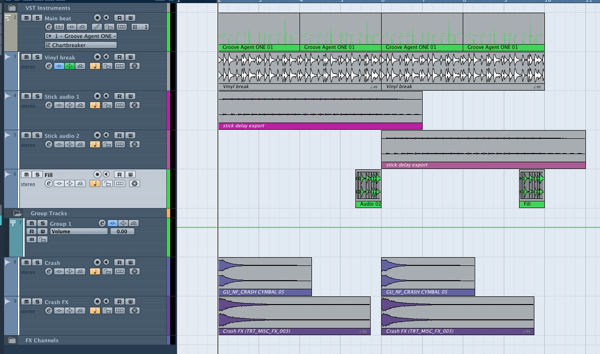 The final loop in the arrange window view.
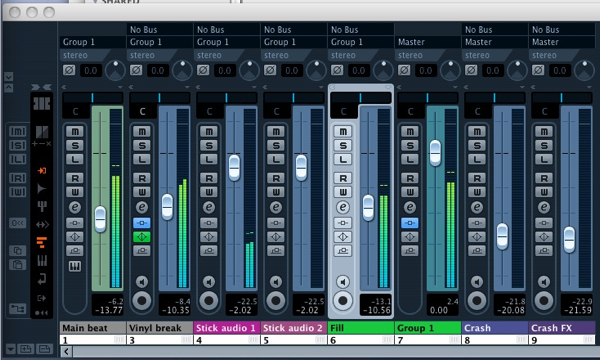 And in the mixer
|
| You are subscribed to email updates from Audiotuts+ To stop receiving these emails, you may unsubscribe now. | Email delivery powered by Google |
| Google Inc., 20 West Kinzie, Chicago IL USA 60610 | |
AUDIOTUTS Updates Part 1
AUDIOTUTS Updates Part 1
AUDIOTUTS Updates Part 1
Tags: AUDIOTUTS Updates, AUDIOTUTS Updates watch online, full AUDIOTUTS Updates video, AUDIOTUTS Updates download, AUDIOTUTS Updates torrent, free AUDIOTUTS Updates, AUDIOTUTS Updates megavideo, AUDIOTUTS Updates full, AUDIOTUTS Updates eng sub
0 comments:
Post a Comment